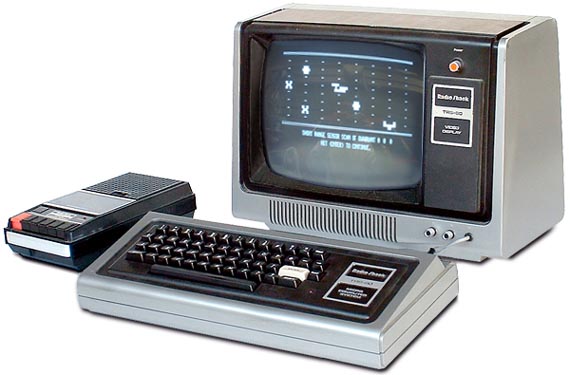
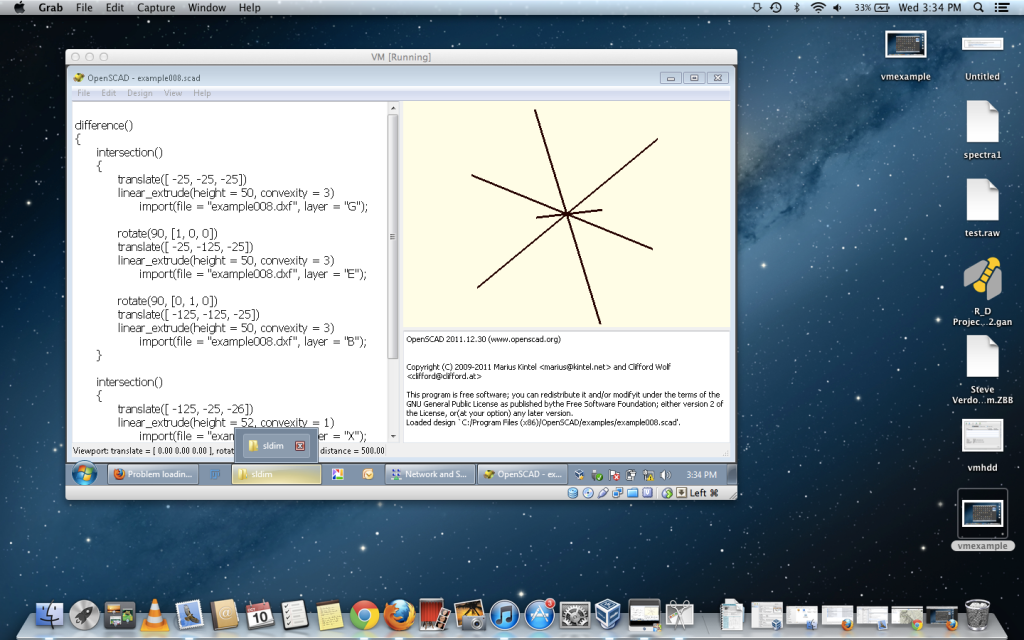
In my recent job change I was asked what type of computer I wanted for daily work. I could choose a desktop or a laptop, either Mac or PC. I’ve been a PC user since before DOS, in fact my very first computer was a TRS-80 on which I learned BASIC programming, as you had to program everything you wanted to do. I remember making simple games, a wind chill calculator and some fun text based challenge programs.

Over the years I used Mac systems in school, but always fell to the PC as the default platform of choice. More games and programs like office ran on PC, I already knew the OS very well, so why change? This was further cemented while working in imaging, simply because 98% of all image analysis and control software is PC only. Looking at my new position I realized I didn’t need to run motorized devices from my computer, and I knew I could run Windows inside of a Mac. Besides, so many of my colleagues and customers used Macs for business and personal use, and seemed quite happy. I figured it was worth a try, so I decided to move to the world of Apple.
But what about my trusty PC? I had tons of custom programs on the system, I had lots of data scattered throughout the various nooks and crannies of a typical win7 install, not to mention there were some programs like Elements, Metamorph etc. which only run on PC. There was only one practical solution: Moving my old windows computer into a virtual machine.
So what is a virtual machine, or VM? Simply put, VM software will take the physical resources on any hardware system (the mobo, hard drive, monitor, USB slots etc) and re-enumerate them in a new environment. Inside the new environment you can have a second OS running, of any type (Linux/BSD, Mac, Windows, t doesn’t matter). This means you will have two operating systems running on the same machine, at the same time. I decided to go this route, and learned a few key things along the way.
Firstly – why would anyone do this for a reason other than mine? Well, let’s say you work on a Mac with Photoshop and ImageJ, but you also have an acquisition system which only runs on PC based hardware. You don’t want to have to completely reboot your mac just to run one program, so in this case you could create a new VM, load windows onto it, and install the PC only software.
Or, let’s say you have a program like ImageJ, and you want to know how it will work on a mac, when you only have a PC. In this case you could create the OSX Vm and install imageJ (this IS a bit tricky though).
You can also use VM’s to separate work and personal use on a physical system, i.e. bring the VM to work, run it on the work machine, and only use the VM for personal items, while keeping work items on the host OS.
How to convert a Physical system to a Virtual Machine (P2V)
Converting a physical machine to a VM requires 3 steps. If you want to do this on your system please note that you CANNOT SKIP these steps – I tried, and it didn’t work. 🙂
Step 1: Update & prep the current physical machine (i.e. run all patches for the OS). If this system has personal or irreplaceable data on it it would be a good idea to also clone the drive or otherwise back up the data as well. It’s also important to review licensed software. Depending on the system you have, your operating system or your licensed software may see a different hardware setup once running inside of the VM, and this could cause these programs to think they are being run on a new hardware platform. The simple solution to this is to have all of your purchased software keys handy, in case this pops up.
Step 2: Create the virtual machine image. To do this you’ll need a hard drive of equal or greater size than the OS drive on your current system. I used an external drive so that my VM would be portable. To create the virtual image you can download and install a free program called vCenter Converter, from VMWare. Once installed, this software will walk you through the migration steps to move your current system to a virtual system. When complete you’ll have a VDisk image file, which is the same size as your physical machine hard drive.
Step 3: Patch the VM. So in step 2 you created the VM image. Now, you’ll need a program to create the virtual environment and run the file. There is a free multi-OS program for this called VirtualBox. Most people find that after installing virtualbox on the “host system” (the real physical machine) they can’t simply load up the “guest system” (the now virtual machine) as windows will simply crash. This was my situation. It turns out that for many new laptops, the hard drive controllers have custom drivers, and when you attempt to run a standard driver in place of the custom one, things decide to stop working. In my case I followed these steps and got things going.
Believe it or not, after patching the VM and running it, I’ve found that my Win7 X 64 OS runs FASTER inside of a VM than it ever did on the physical hardware. I’m not sure if this is due to all of the custom drivers used on the physical rig, but it sure is impressive. I now have both systems available whenever I need them, although after almost a month of using OSX, I think the Mac will be my platform of choice for the future.

-Austin