I’ve been working with Arduino boards a lot lately, and they are great. But some elements of the arduino can be even better.
What is an Arduino?
An Arduino is a breakout board for the Atmel “ATMega” series of microcontrollers. These microcontrollers allow for high speed measurement of analog and digital signals, as well as high speed output of analog and digital signals (well, quasi-analog using PWM, which is another post). So, the arduino houses one of the ATMega Chips at heart, and provides things like a voltage regulator, Serial – USB adapter, 1mm pin connections for several of the chip’s pins, and other nice to have or required-for-operation items one might want or need for these chips.
Now, there are large Arduino boards with a great number of pin connections, like the Mega2560. This board has a ton of capability,

with a great array of connection options. On the other hand, there are super small but capable boards like the RedBearLabs Blend Micro – which includes BOTH an ATMega ship and a BLE transciever!

But each of these options has drawbacks, cost being one. The Mega is around $45, and the nano or tiny boards even without BLE are ~ $11. Yes, this is cheap, amazingly cheap considering the capability they provide, but if you want to integrate these into several projects, this cost aggregates rather quickly. So, can we go cheaper? In many cases, the answer is yes, and it can be found in the excellent little ATTINy series of controllers.

The ATtiny85 is excellent for sensing a few lines on input, and driving a few outputs, like an LED, or speaker. For powering the IC, I prefer using a USB cable, which usually provides a clean source of 5V power.
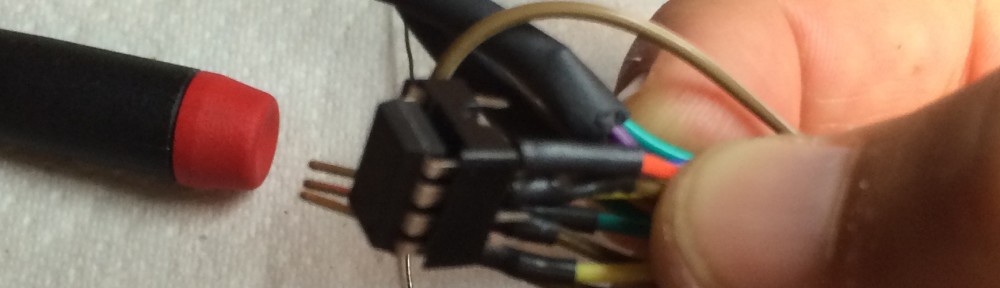
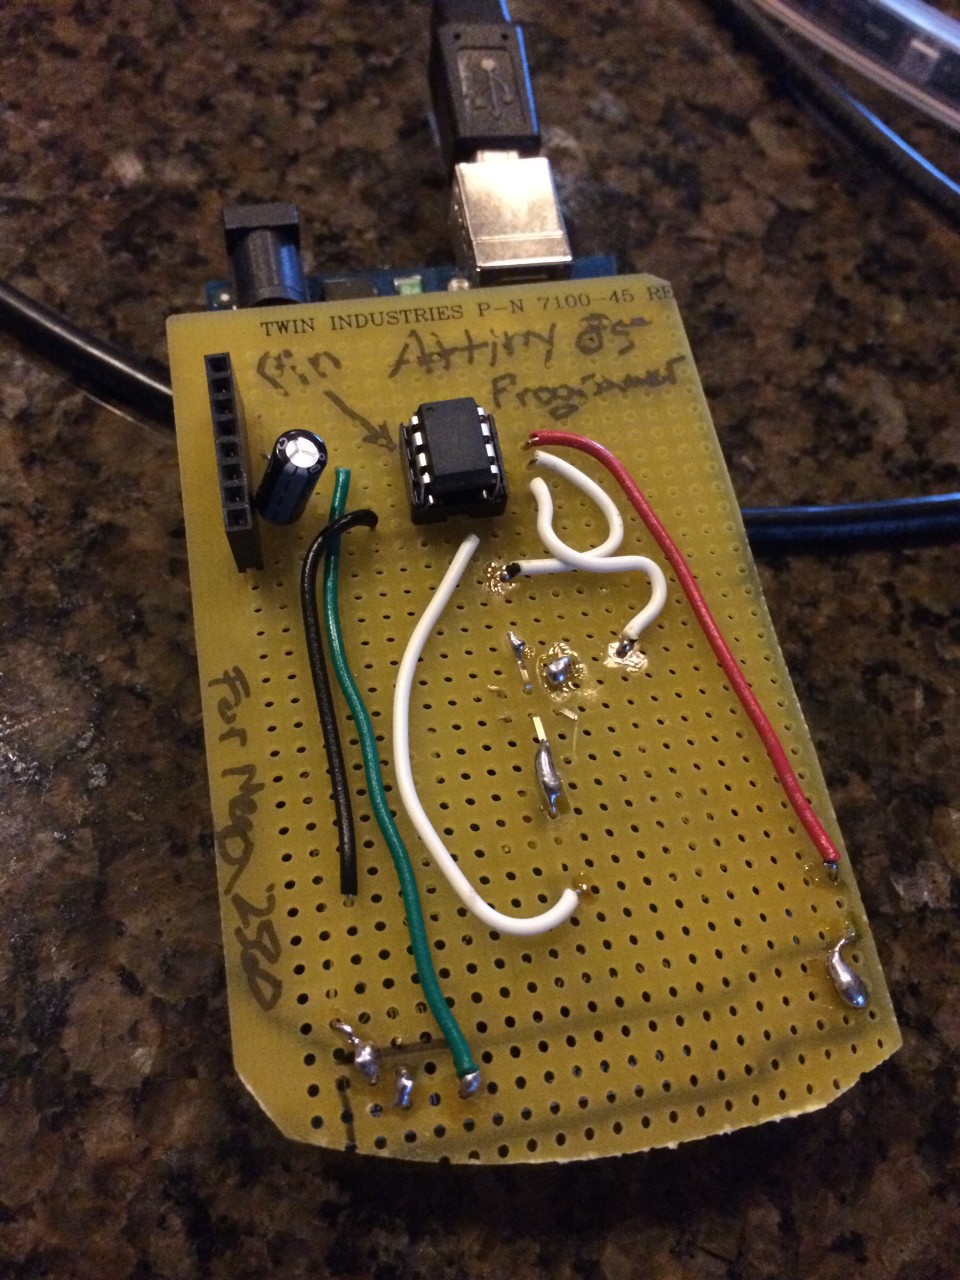
Now, to program the IC, you’ll need a programmer. The folks at Arduino have conveniently included an option for “Arduino as ISP”. Basically, you use the communication lines on an existing arduino to program your Attiny. I’ve found that a homemade shield makes this easy, as when you need to program an IC, you take any arduino laying around, drop the shield + chip on, program, and then continue using the arduino board for whatever project you’ve got. An example of a shield for an Arduino mega can be seen below. It took maybe 15 minutes to get this wired up – not a pretty solution, but fast and easy to use.
Of course, you don’t need a shield to program the IC’s, a breadboard and some jumper wires will do.
Once you have the IC programmed, it’s a matter of popping it out of the socket (or breadboard), and placing it into whatever socket you use for your project!
There are numerous examples online of how to program these chips, a few of which I’ve used as guides. I like the one here, and there’s a nice video showing the general process here:
Anyway – if you do plan to tackle this, just make sure to follow the directions for your specific version of Arduino IDE – there’s a big difference between v1.6 and the earlier version(s). ***IMHO, V1.6 is WAY easier to set up.
-Austin