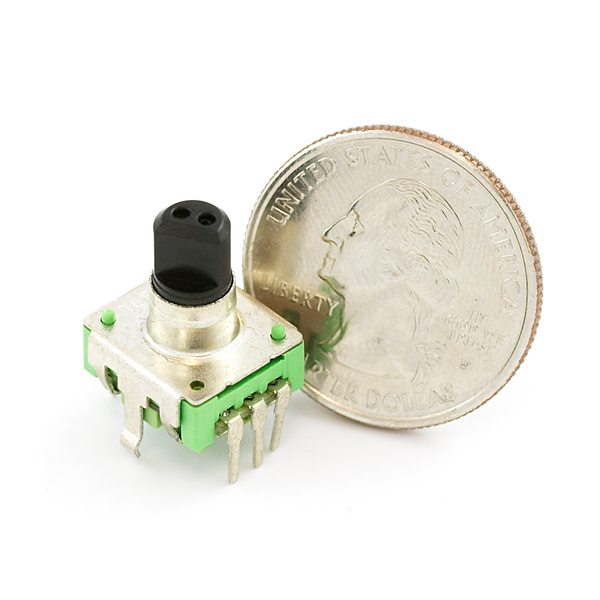
The Arduino IDE for ARM microcontrollers is just plain awesome. I’ve been using both an Uno and a Mega board for quite a while now, and continue to be impressed with how flexible these inexpensive boards are. Recently, I wanted to read the output of a pair of rotary encoders, like these: Encoders can be used for all sorts of things, from acting as a user control knob (with endless turns), to acting as a verification system for motors, to confirm that a commanded # of motor moves has been completed accurately. In fact, linear and rotary encoders are used on microscope stages for this exact reason, to confirm that the stage actually went some specified distance.
So – I wanted to use an encoder as a knob for user input. Encoders output a set of signals, which run either open or closed against a ground, based on the position and direction of the knob turn. An example of this can be seen below.

Now, the problem with reading an encoder is that usually, your microcontroller is busy off doing something else (executing code) when the user begins turning the knob. So, how can you make sure and check the input lines from the encoder, quickly enough so as to not miss a rise or fall? Keep in mind, if a fall or rise IS missed, you lose both the position of the encoder, but also can incorrectly interpret the direction of the turn. There is a handy way to accomplish this, by using interrupts.
Interrupts are what they sound like – if the code is running on the microcontroller, and an event occurs which qualifies as an interrupt-driven event (you can specify these, for instance, “interrupt if my input signal goes from low to high) then whatever is currently going on will pause, and the interrupt code will be executed. This relieves the author (to some degree) of having to maintain super tight code timing, which is great, as in many cases it’s useful to have a long operation or series of operations doing things on your microcontroller.
To make things even easier, it turns out there is an excellent library available, which does all the hard work of figuring out direction and steps. So – simply add this library to your project, make sure you are using an interrupt-enabled pin, define your pins for the library, and encode away!
In my case I wanted to add the capability of dynamically limiting the encoder’s range, i.e. for some portions of my work, I’d want the encoder to have +/-100 counts of range. In another portion, I’d want the encoder to have +/-50 counts of range. In order to accomplish this I wrote a simple argument at the end of my loop() code, which read something like this:
byte range = 50;
if ( positionLeft > range){ knobLeft.write(range); }
if ( positionLeft < -range){ knobLeft.write(-range); }
in this example, if either limit is exceeded, the knob value is simply written to hold the last position, and never go higher than that position. This code has worked well for my projects, hopefully it’ll help you out also!
-Austin