One of my recent projects which was very exciting and interesting was to build a custom imaging system for John Mclaughlin at Torch Therapeutics. This was a great build for a number of reasons, one of which is that Torch has allowed me to write a report on this build, which is greatly appreciated! From the tiny camera to similarly tiny NUC computer, this was a really interesting build, and I’m excited to share what I found during the testing and setup of the system. If you are looking for this type of custom integrated system, please take a look at what my company offers, as we’d love to build a system for you!
Scope Selection
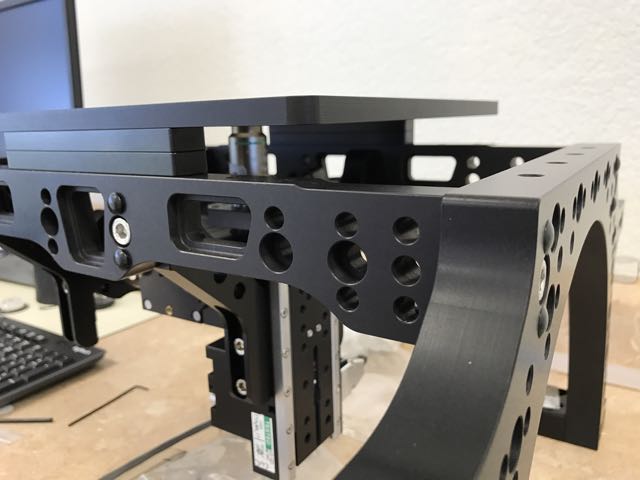
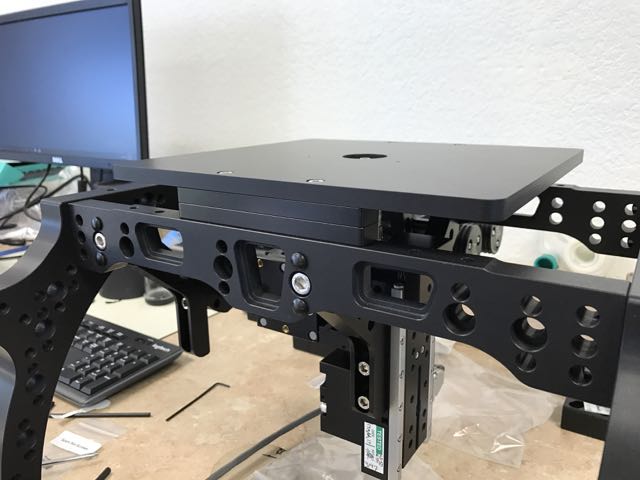
What we were looking to build on this system was a low cost, yet fully automated imaging scope that would be easy to modify, simple to operate, and compatible with Micro-manager. In the short term, only Z control is required, but as the work grows, we wanted provision for XY automation, as well as autofocus tracking. For fluorescence excitation we an LED illuminator. After looking at several options, we selected the ASI RAMM microscope, with the inclusion of the Tiger unified controller, and the ASI LED excitation module. This system offers a complete microscope from one control box, on a scalable build platform, at a competitive price. I reviewed the RAMM scope a few years back, and happy to see that the quality and options have only increased over time. When I reviewed the system, it was required that I build the frame and align things correctly. The new systems ship completely assembled. I literally pulled it out of the box, plugged it in and things were operational. This out-of-box experience isn’t normally seen even in the “big 4” microscopes.
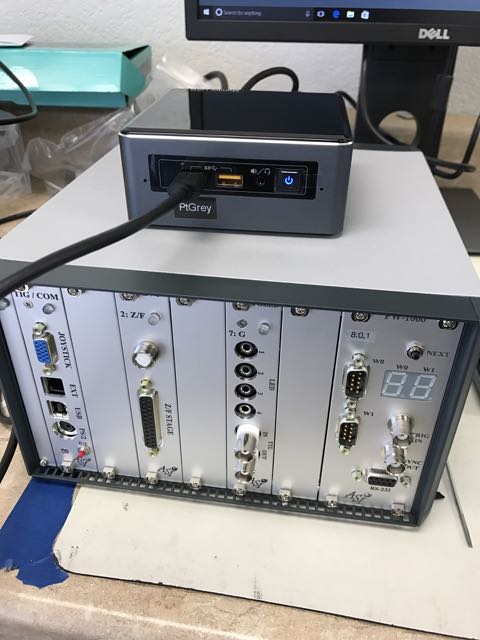
Another feature of this scope is the inclusion of all needed driver components in one box, ASI’s Tiger controller. This is a modular control box which can accept riser cards as-needed to drive various components. The controller on this setup was actually the largest electronic box in the system! From left to right are installed driver cards for joystick/control input, Z stage, LED output, and filter wheel control. Another great feature of this box is that when installing in Micro-manager, only a single USB connection, and single hub device are required.
LED Illumination
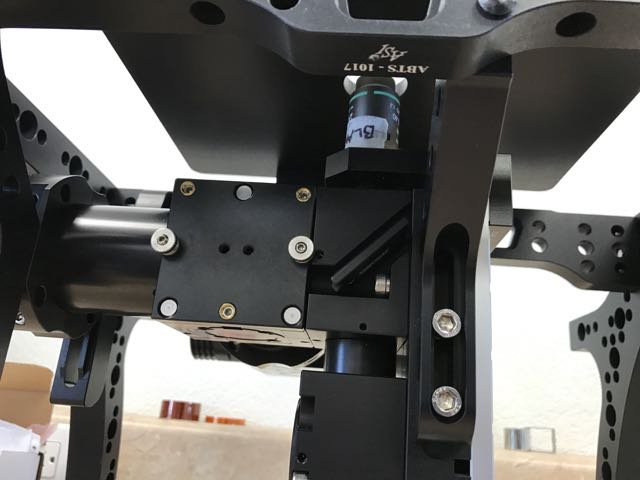
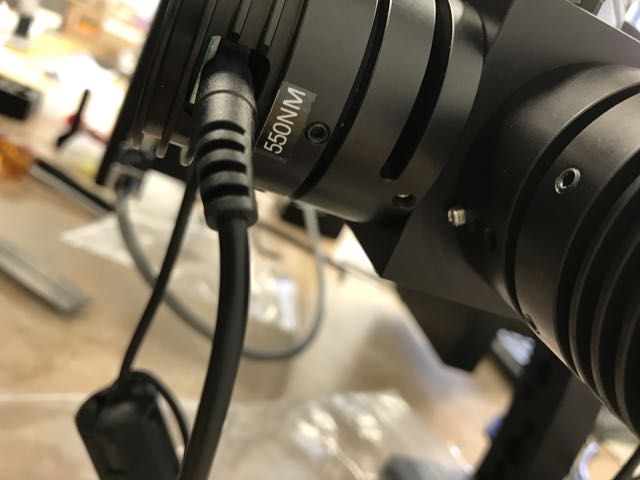
ASI offers a 4 channel LED illuminator, with option for almost any available LED module. This is a simple illumination setup using a common ladder-dichroic design. The open nature of the hardware allows for changes to the dichroics, or the LED modules, as may be needed by the customer as things change in the future. Each LED is driven using a simple audio style TRS cable, so connecting or disconnecting the LEDs from the driver is straightforward. On the output side of the module, an aperture diapragm is provided to avoid overfilling the back aperture of the objective.
Camera Selection
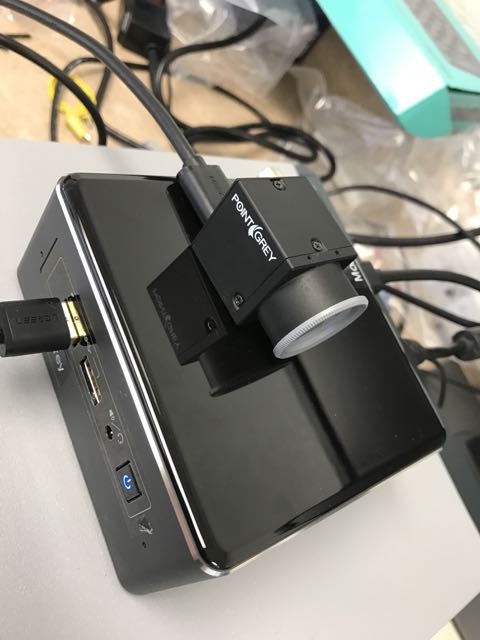
When selecting a camera, we wanted good QE, decent resolution, but didn’t require any advanced cooling or long exposures. Of the available options, the Pt Grey (FLIR) BlackFly camera fit the bill. Recently, Nico Stuurman @ UCSF wrote up a driver to support this camera in Micro-manager, and after working with it for w while I’m quite impressed. I was able to configure some tricky stuff, I tested various binning modes, subarrays, a wide range of exposure times, and things seemed stable. One suggestion if using this camera is to always snap an image after making changes, vs. simply clicking “live”.
The camera is unbelievably small, roughly the size of a 1″ cube. While cool at first glance, there are some drawbacks to such a design which I note below. I tested the camera at no-light conditions for 2 things – dark current over exposure time, and read noise. Read noise shows a 16-bit count standard deviation of 214.78. Value ranges on the noise floor ran 3264 counts max-min. This works out to a noise level of 4%. Calculation for this measurement was from 2 images in a sequence.
(Image1+2000) -image2 = 200 count centered noise level. (ranging around the 2k level).
Not the best performance from a typical sCMOS camera, but if we consider the next lowest-cost camera runs ~ $5,000, this is quite good in my opinion. There is some pattern noise apparent in the camera, below is an average of 20 exposures, all using 10ms exposure time. The image has been contrast enhanced and pseudo-colored for presentation.
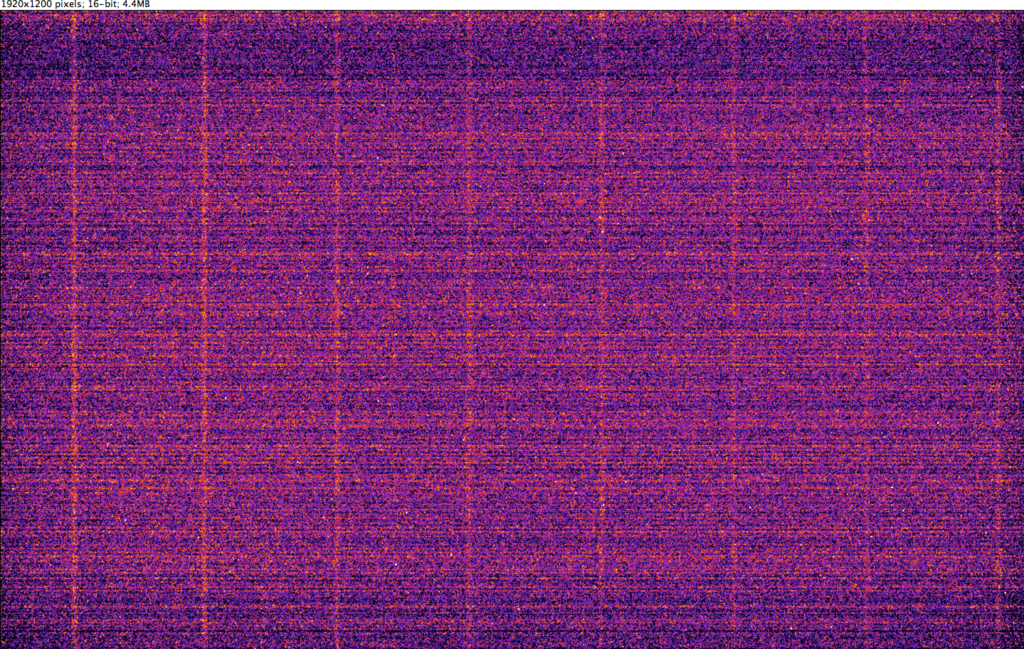
So it appears the taps are drifting a bit. Just for grins I tossed one of these images into an FFT and redisplayed the spectrum for view. Looking at the output, my gut says the image below results from temperature bias on the output taps, and this bias is distributed across the back side of the sensor, or at least wherever the taps are located on the readout layer of the PCB. The higher frequency events at the center look like the typical clock timing jitter seen on any ADC. But this is only my non-expert observation – I’d love for any uber-camera experts to weigh in!

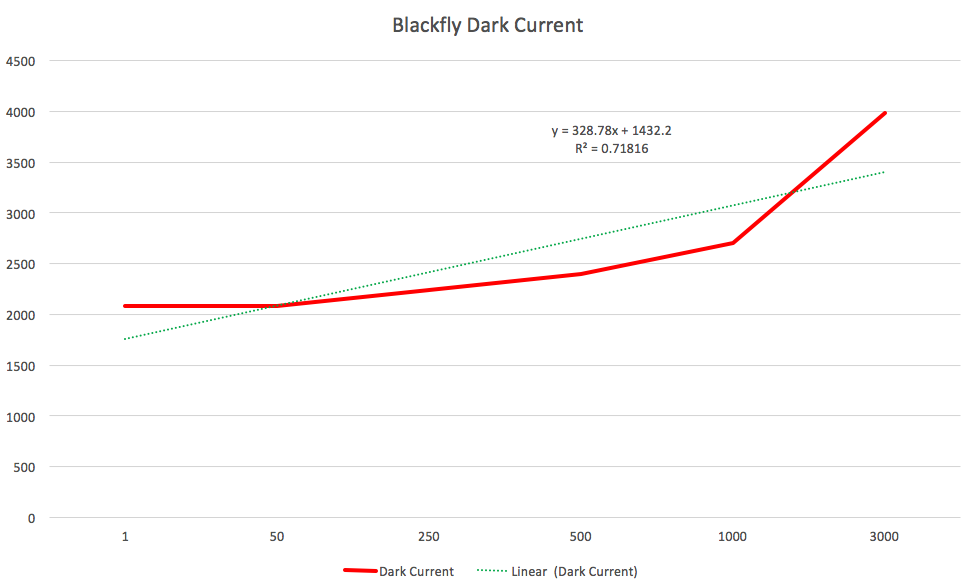
I also wanted to look at how bad the hot pixel effects would be using longer exposures. For this test I ran a set of exposure times from 1ms to 3000ms.
Increase in dark current over time was about as expected.
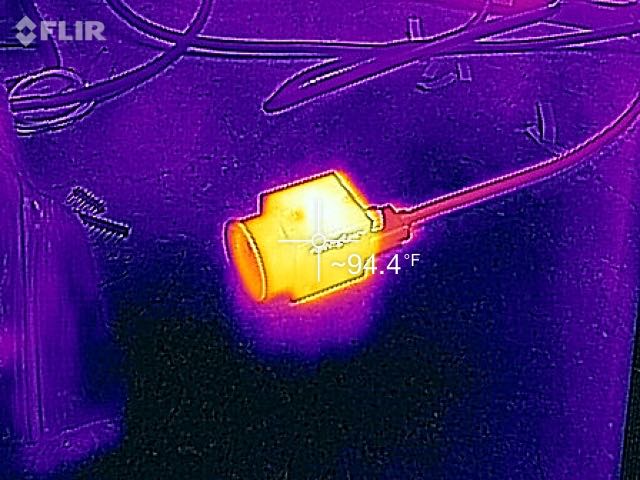
I think the bottom line on this camera is that it runs as hot as any other camera, but has neither the active cooling nor the inherent surface area to radiate heat well. I took a pic of it using my Flir One camera, and it runs at about 95°F while idle.
Does this mean the camera isn’t suitable for microscopy? Not at all? This is an amazing piece of tech for a very low price. I can imagine buying 3 of these, one for each of 3 emission channels on a single scope! My goal in presenting this information is to share what the current limitations are for such a product. I think the raw QE and ~2.3MP resolution of the camera make it a perfect fit for most microscopy jobs. Of course, there will always be need for higher end cameras, but for many run of the mill operations, this is a nice solution.
NUC Computer
When searching for an “imaging computer” on this project, I had initially considered using a Mac Mini, dual booted with windows 10. I’ve used this for a number of other projects, and it has always run well in windows. John suggested looking at the NUC as an option, which provided later opportunity to upgrade the RAM and disk space. After building it up (which only required installing memory and an SSD), this little guy kicked butt!I ran Windows 10-Professional x64 for this build, and used the latest version of Micro-manager. Funny that a $500 computer and a $500 camera can be had for what used to run ~ $15k!. I successfully ran this on timelapse for 10 hours, and captured streams in MM of 100 frames. I didn’t push the buffer too much or analyze the USB-3 performance, but overall this is a great little machine for simple capture of images.
Building this system was a lot of fun, and I really enjoyed using non-traditional components for it. I think this type of system will become commonplace in the future, as more and more customers realize that traditional components, at a traditional high cost, aren’t always the best fit for their needs. If you are interested in this type of solution for your lab or company, please get in touch, as I’d love to build one just for you!
-Austin